 |
| Manufacturers |
| Me List |
| Me 262 Variants |
| Me P.1104 |
| Me P.1106 |
| Me P.1109 |
| Me P.1110 |
| Me P.1111 |
| Me P.1112 |
| Me P.1114 |
| Me Schwalbe |
| Me Zerstrorer PII |
| Home |
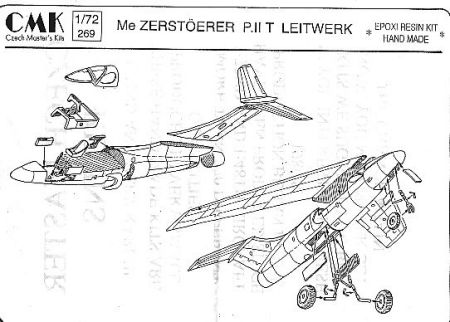
CzechMaster, Resin - 1/72
William Moore
 |
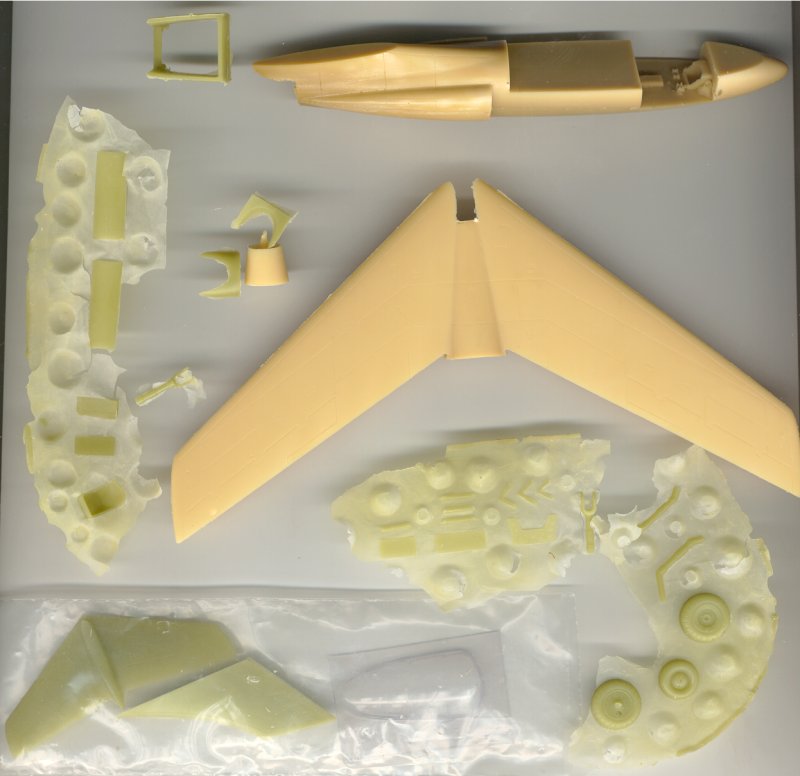 |
A fairly simple kit with 4 parts covering the main body with a basic cockpit . The recessed lines are quite nice but slightly spoiled by the mould line around the middle of the body lengthwise which will require filling. The rest of the parts are reasonably well moulded and should go together fine . The wing body joint will require a little work and especially the join to the canopy as these all meet in the same spot - could be fun! And now here's the awful reality --------
Michael Yamada (Be afraid, be VERY afraid..)
The main fuselage is one piece, with a separate "cockpit tub" consisting of sidewalls/ consoles (which includes the fuselage sides also, with fore and aft bulkheads. The vacform canopy comes with a resin plug which I suppose can be used to form a new one should you destroy the old one. Also it can be used as a form to hold the canopy as you trim the bottom edges..however the form does not take the thickness of the canopy plastic into account so fine trimming will be necessary.
The wing is one piece and attaches "shoulder mounted" to the upper fuselage. There is a "step" molded into the aft end of the cockpit area that is supposed to hold the wing but the wing is too long (fore and aft dimension) to fit into the step. I had the choice of either shortening the fuselage portion of the wing along the fore/aft dimension, or removing the step. Due to the tapered contour of the top of the wing/fuselage, I chose to sand the step off. Now the wing fits flush with the fuselage with 0 degrees of incidence.
However the vertical dimension of the canopy is now "squashed" flatter as the wing covers the aft end of the canopy and holds it down. This is OK ,as the effect is that of the lower canopy rails covering more of the fuselage sides.
Tail Sitter problems: The aft part of the fuselage is solid resin, and combined with the short
wheelbase tricycle landing gear, plus the all-glass nose design, means a visit to Tail Sitter City! I used my Dremel tool to remove material behind the cockpit, and to drill out the aft fuselage. I super glued steel BBs into this opening (didn't have any lead handy). Attached landing gear, wheels, and tail assembly to test balance- still a tail sitter. Drilled out a cavity in the nose (under the glare shield area) to add one more BB- now she just barely sits on the gear. Approx 2 hours of hacking and drilling. Although it appears that things are now OK I am going to try to recast the cockpit tub in white metal using an RTV mold to make sure there are no problems later on . Probably all this weight will cause the resin gear to collapse though. Or you can just use a tail stand and avoid the whole problem!
Not sure what kind of paint scheme or markings to use yet.
Hope this helps!