 |
| Manufacturers |
| Li
List |
| Li DM.1 |
| Li GB3 |
| Li GB |
| Li P11 |
| Li P12 |
| Li P13 |
| Li P15 |
| Li P20 |
| Li P115 |
| Li P116 |
| Li P01.117 |
| Home |
Revell 1/48 injection
Mike McEvoy, SAM v.18 no.6 Aug 96
Revell continues to pursue their policy of 're-publishing' other manufacturers' kits and in this case not very long after the disappearance of the original Mauve version from the shelves. The only difference is the substitution of plastic for metal parts, a new decal sheet and a markedly reduced price.
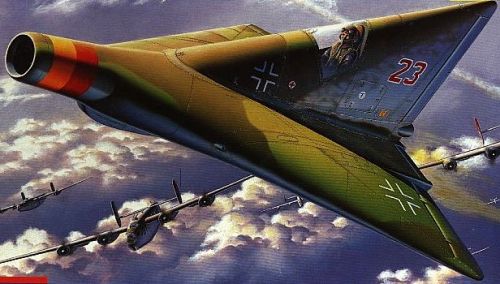
To confirm the similarity I completed one of the original version at the same time as I built the Revell model, not least to use the second choice of Revell decals. The original never flew, though a wooden flying test model, the DM-1, was built and tested in American wind tunnels after the war. The proposed fighter would have had a small rocket motor to accelerate it to the point where its ramjet would have become effective, and an illustration in a recent issue of our contemporary Avions Blindés Maquettes shows the upper and lower surfaces to the rectangular efflux controllable in a similar fashion to those of the F-22.
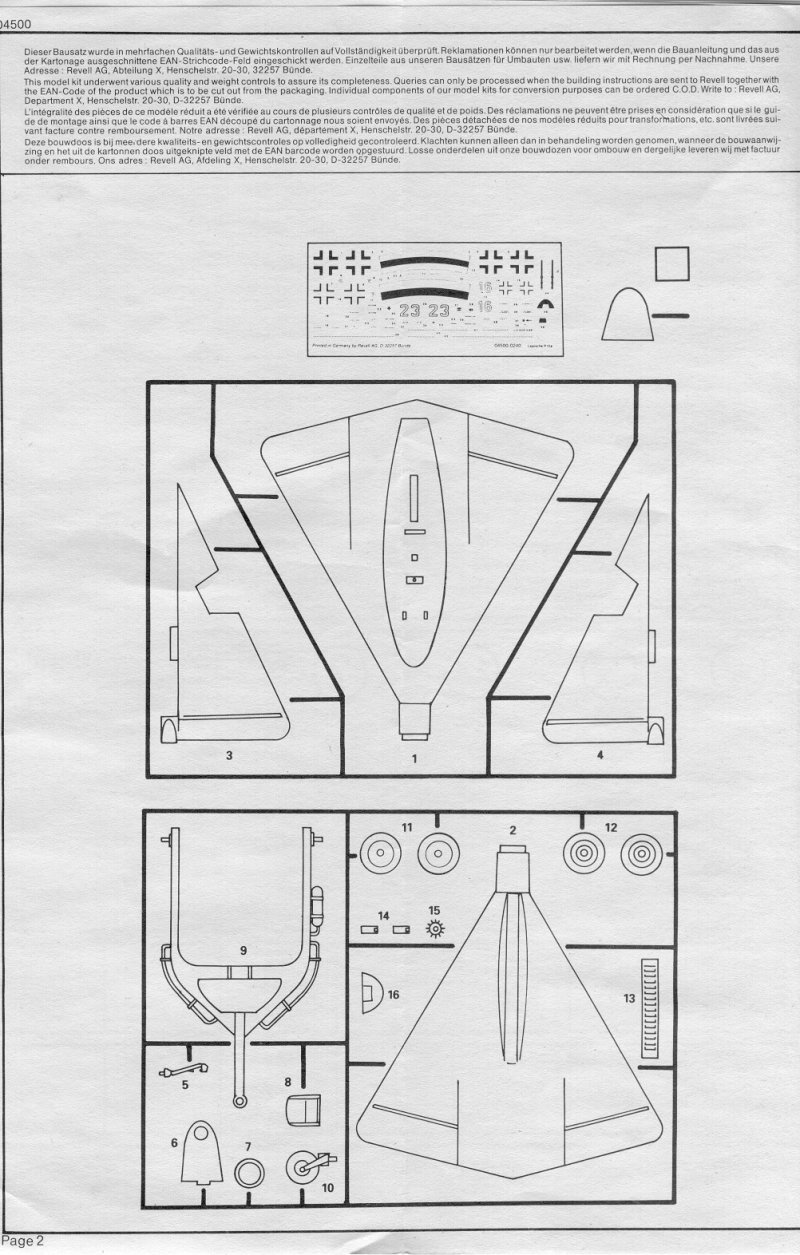
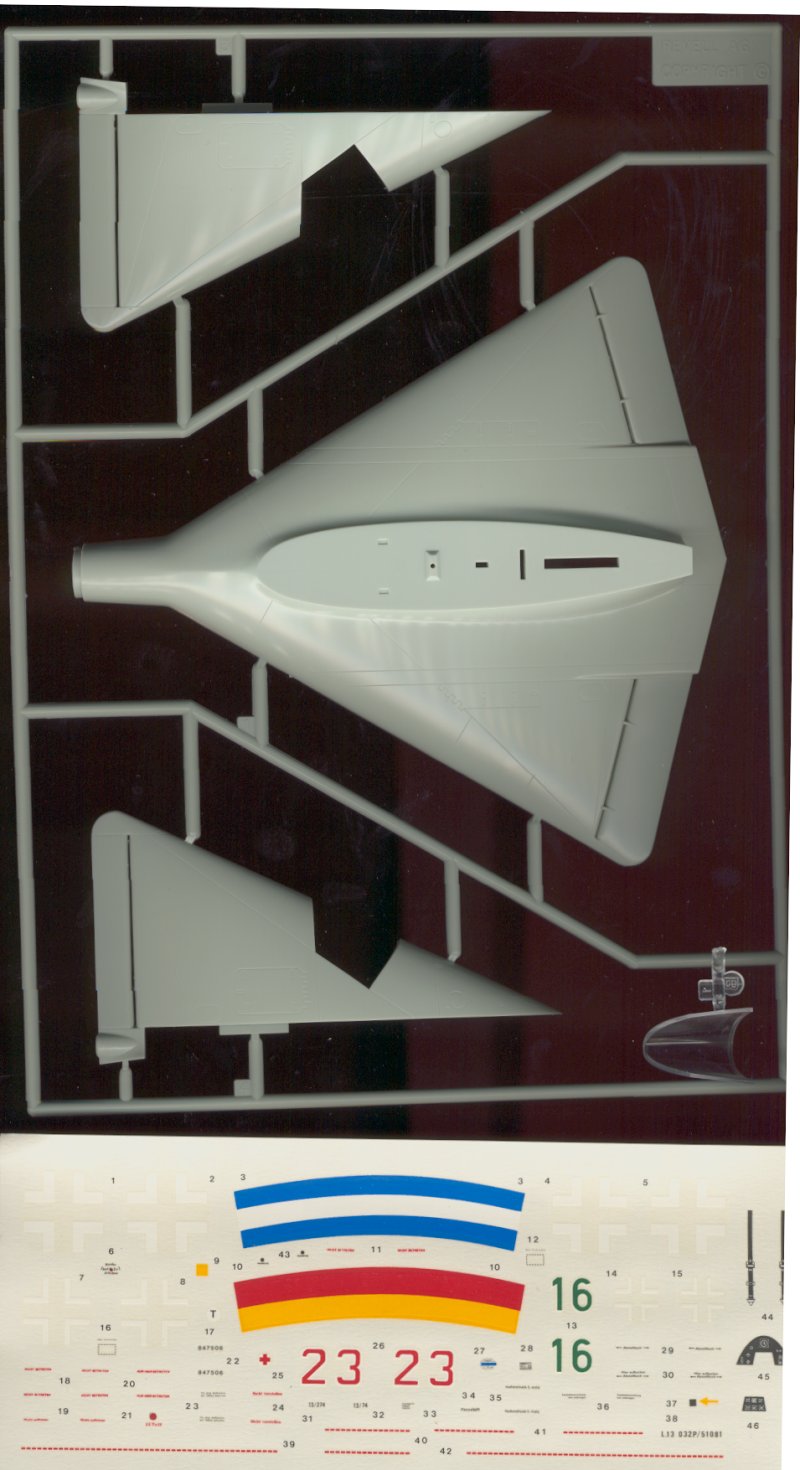
The kit itself is very simple, and as a model could be tackled by anyone. The wing is in upper and lower halves, with cockpit interior, seat, control column and pedals mounted on the top half, with the fin, with bulkhead and instrument panel, fitted over them. Decals are provided for the instruments and there is a small star-shaped wheels fitted to the cockpit sidewall. The carrier trolley -- the aircraft was to have a skid landing gear and presumably the dolly from which to take off -- is equally simple, the frame complete with air bottle and grab rails being a one-piece moulding.
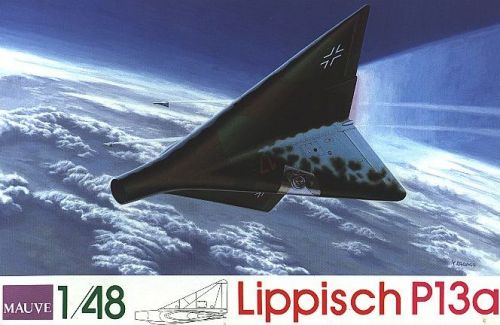
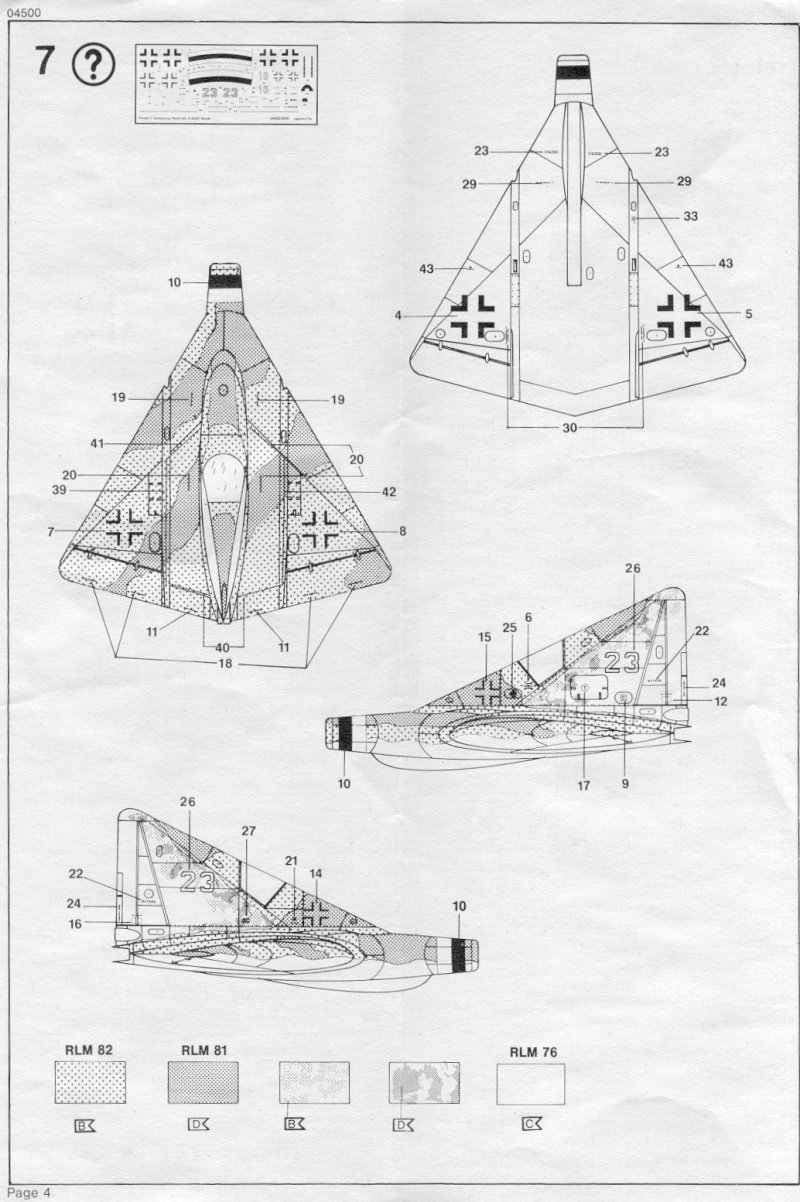
Extensive stencilling is provided on the decal sheet for one aircraft and unit, and individual markings for two, Green 16 of JG.300 and Red 23 of JG.301. Two camouflage schemes are suggested, one in RLM 81/82/76 and the other in RLM 74/75/76 with the RLM numbers given on the instructions as well as Revell paint numbers and mixes. This seems to be happening increasingly in Revell's kits of Luftwaffe aircraft and is a welcome move. Swastikas, given that it is illegal to produce them in Germany, must come from your own sources. (Various odd ways around this: halved, cross-hatched etc. But anything's preferable to the coyness of the old, old 1/72 Revell Fw-190 which had Balkenkreuze on the tail... Peter Morwood) While this type's appeal may be limited, the colour box art is attractive and unusual, and the kit could well be a starting point for someone you want to introduce to the hobby.Shown below is a scan of the Mauve boxtop along with scans of the Revell kit's instruction sheets and kit contents.
 |
 |
 |
 |
 |
 |
 |
1/48 - Mauve
Mark Hernandez 20/8/98
HISTORY - BACKGROUND:
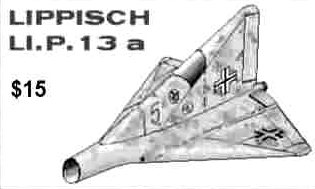
Dr. Alexander Lippisch designed this ramjet-powered interceptor in late 1944. Much of the research came from his work on the DM-1 test glider. The wings were sharply swept back at 60 degrees and there was a single large fin and rudder in which the cockpit was located. The ramjet was fed by a circular intake that protruded from the nose and exhausted beneath the vertical fin at the rear. A liquid fueled rocket motor was planned for takeoff and to get the aircraft to ramjet operating speed. Since fuel was in short supply powdered coal was to be used in the ramjet.
The 1/48 Mauve kit of the Lippisch P.13a is a rather simple kit to build. It consists of an injection molded canopy, upper and lower wing/engine halves, left and right tail/cockpit halves, an intake nose ring, a few bits for the cockpit, some P/E stainless steel parts and a trailer to mount the kit on. The decal sheet has markings for one aircraft but they give you numbers from 0-9 to choose from.
CONSTRUCTION:
The upper and lower wing halves are hollow but there is no blanking plate to install between them. Subsequently when the two halves are put together you can look down the intake tube and straight through the model, not to mention the seam that runs down each side. To correct this issue I used a piece of styrene tubing inside of the intake tube. At the very back of the tube was the blanking plate. I painted this plate gloss black for better depth perception when you look down the tube. At the end of the tube and just slightly in front of the plate I also install a piece of fine wire mesh. This just gives it a little extra-added effect for the ramjet.
Now that the front was taken care of I needed to do something similar to the rear opening. (You never know what those judges will look for with their flashlights and dental mirrors!) The exhaust area is a rectangular shape about 2 inches wide by a quarter inch high. There is a P/E piece that looks like the grillwork on a BBQ or ship railing that installs in this position. Cutting, cleaning and bending stainless steel is not fun. To take care of blanking off the wing sections I measured the inside height between the two halves and the distance from top to bottom and from front to back. I then cut out styrene strips for each side and curved them from the intake tube back to the outer edges of the exhaust and glued them in place. I also installed a bottom plate between the two side plates to give it a flat interior. When I was satisfied that everything fit right it was all painted gloss black inside. With the two halves together and the exhaust grill in place it looks pretty good and if you use a flashlight to look into it light bounces around so it's hard to see any edges unless you hold the model at just the right angle. (I hate it when contest judges insist on picking up models!)
Before the final assembly of the wings I installed plastic tubing in the gun ports so you can't look into the wings. Because of the swept wing there's a lot of sanding and fitting to get the tubing to fit correctly. The wing halves match up very good and I didn't have to use any filler.
The last part to fit to this assembly was the ring that goes on the front of the intake.
The main cockpit components are mounted on the center section of the top wing that will be sandwiched between the two tail halves. I dry fitted the seat, control stick and rudder pedals. When I set the tail/cockpit over them for some reason it didn't look right. The control stick and rudder pedals looked to far away from the seat. The pilot would have to have the arms of a gorilla to reach the control stick. I filled in the holes and moved the pedals and stick closer to the seat. The seat comes with P/E seatbelts.
I installed the rear bulkhead into the cockpit/tail section. The instrument panel is two-piece P/E and there is also a small P/E wheel to install on a molded-in handle on the left side of the cockpit. I added a few extra details to the sides of the cockpit. One of them is a control lever similar to a Me. 163 since the Lippisch used a rocket motor for takeoff. I used some brass rod in the tail section to simulate the exhaust pipe of the rocket. I then glued the two halves together.
The interior was painted Aeromaster RLM 66 with the instruments faces in black and various other components picked out in light gray, red and yellow.
The tail/cockpit was then mated to the wings. The fit was very good and I didn't need any filler.
PAINTING:
I was wondering how I was going to hold this plane while I painted it. It became very simple by inserting a plastic tube into the intake opening. I covered up the exhaust area and I masked off the canopy and white-glued it into place.
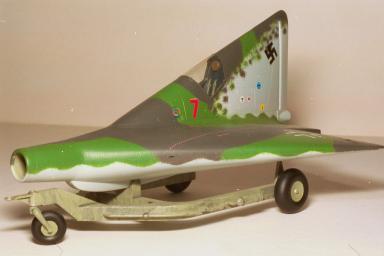
I used Aeromaster enamel paints. The bottom is RLM 76. The top portion is RLM 81 but I did a lot of mixing and made it a very dark brown-violet. I also did some slight mixing on the RLM 83 bright green. After all the painting I gave it a coat of Aeromaster gloss. For some reason this gloss seems to take forever to dry. After a week it still felt tacky. Glad I found Future floor polish for gloss coating after this.
After the gloss coat had finally reached an exceptable point of dryness I proceeded with the decals. They were thin and went on without a problem using Solvaset. The only problem I had was that the white on the numbers was slightly out of register and the white backing on the red-dashed walk areas was slightly off register. After these were dry I gave it a couple coats of Aeromaster flat. I removed the cover from the exhaust area and then I popped off the canopy and removed the mask.
The airplane was done and now on to the trailer.
This is a simple one-piece main part with 2 rear wheels and a single nose wheel to install. I painted the entire thing RLM 02 and gave it a wash of dirty thinner and a dry brushing of silver to simulate wear.
When this kit first came out from Mauve the US retail price was around $60. I was happy when Squadron had them on sale for $20. Revell Germany is now producing this kit. I do not have the Revell kit but from what other people have told me it's exactly the same kit except the P/E parts are replaced with plastic and the P/E seat harness is a decal. It also comes with a different set of instructions and decal sheet and retails for significantly less than the Mauve kit.
As far as I know this was probably the first 1/48 injection molded kit of a Luftwaffe '46 type with the DML Go (Ho) 229 close behind. Today there are probably over a dozen Luftwaffe '46 kits in 1/48 in resin and injection molded form with more on the way. If you prefer to have this kit in 1/72 RS Models make it in resin but it has no trailer to mount it on.
Main references were the Schiffer book on the Lippisch P.13a
and the
Luft '46 web site, www.luft46.com
And here are two photos of Mark's efforts on
this plane:
|
|
 |
1/72 Unicraft
As far as I know this is the only 1/72 scale P13a - try for a change - the quality is improved.
Here's an image of the Unicraft kit mounted on a Siebel 210 as a Mistel.
